Today, most homeowners have adopted water tanks to store water. Water storage becomes essential if you experience frequent water interruptions from your municipal council or want to reduce your water bills. The stored water provides an alternative water source, reducing your use of municipal water, which is charged monthly.
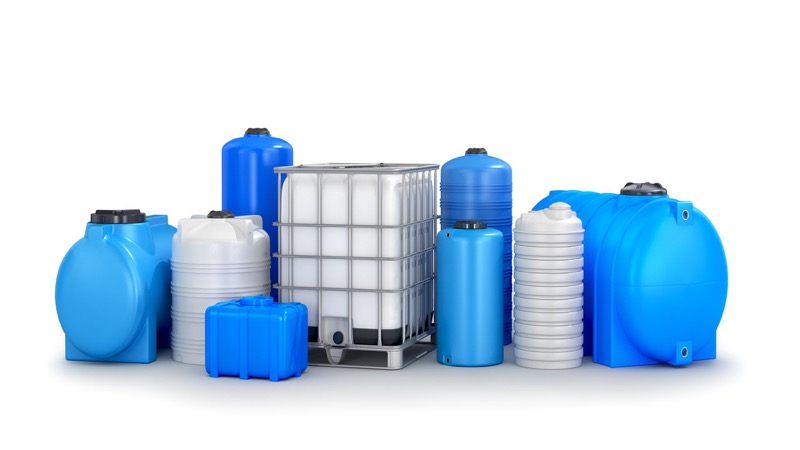
There are many water tanks you can adopt depending on the amount of water you want to hold. These tanks have varying capacities and sizes to fit in your compound. Slim models are available, and they don’t occupy much space. These models are commonly referred to as slimline water tanks.
Depending on your use of stored water, it’s essential that the water is clean and safe for drinking and meeting your other needs. One way of ensuring this is regularly cleaning your water tank. As a homeowner who’s adopted the slimline water tank, how will you clean it? This article highlights cleaning tips and tricks you can adopt; read on for this insight.
It’d help to do the following:
1. Prepare Your Tank
The first step in cleaning your slimline tank is preparing it for cleaning. How?
Start by switching off any power outlets connected to it, e.g., an electric pump. Consider unplugging as well; you don’t want anything deterring you from cleaning your tank effectively. You also don’t want to suffer electrocution.
Next, drain your tank if it has any water. It’s the only way you’ll efficiently clean your tank. It’d help to connect your outlet valve or use a hose pipe to remove the water. If there’s any water left, the small nature of your slimline tank enables you to flip it over and remove the remaining water.
2. Clean Your Tank Components
You rely on various components to enable you to utilize the water in your tank. These components are hose pipes, water inlet and outlet, and drain valves. Since you use them most of the time, they likely have accumulated dirt on their internal surfaces. This dirt might affect the quality of water in your tank. Hence, they must be part of your cleaning process.
All you require to do is prepare a cleaning solution of laundry soap and pass it through the pipe severally. Where shaking the pipe is possible, please do it to assist with the cleaning. Once you’re done, rinse the pipes by passing water under high pressure. The pressure will eliminate all the soap and dirt along your pipes’ length.
You likely have a sieve at the top of your tank if you rely on rainwater to fill your tanks. The sieve prevents the entry of debris, leaves, and rodents from getting into your water and contaminating it. You can wash the sieve as you do your clothes if it’s made of fabric. If made of metal, use a brush to remove any dirt. Once you’re done, hang it and let it air dry.
3. Scrub Your Tank
With all the water removed from your tank, you can now scrub it. Use a mild solution free of strong chemicals and a medium-bristled brush to do the cleaning. Be sure to scrub all the parts and corners of the tank, paying keen interest in any slime and mildew on the surfaces. Please ensure not to use a brush too hard, or you’ll damage your tank since it’s plastic.
It’d help to add baking soda to the cleaning process; it’ll help dissolve any dirt in your water, ensuring the process is thorough.
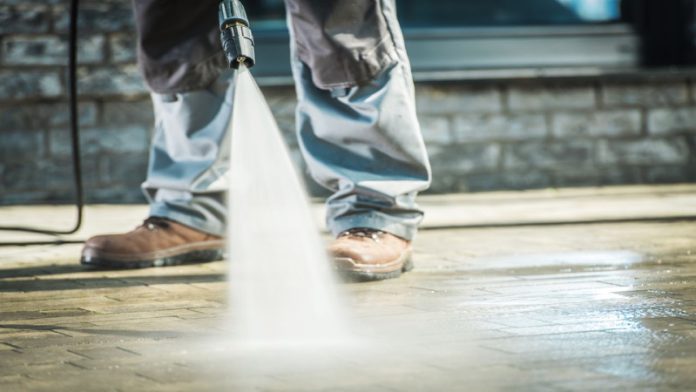
After scrubbing, rinse it off using a pressure washer or hose pipe. The aim is to attain high pressure to eliminate all soap from your tank’s surface. Repeat the process until your rinsing water is free from soap or debris.
4. Disinfect The Tank
Your slimline water tank’s cleaning process isn’t over until you disinfect it. Disinfecting eliminates any germs in your tank, ensuring quality, uncontaminated water.
Here, the ideal disinfectant to use is chlorine bleach. You want to mix it with water in proportions that won’t reduce the effectiveness of your chlorine. How do you do this?
Fill your tank with water halfway and add the chlorine bleach in appropriate portions. If your tank holds 250 gallons of water, add four cups of chlorine, half a cup of chlorine if the tank’s capacity is 500 gallons and one gallon of chlorine for a water capacity of 1000 gallons. You can find the right proportion for your tank’s capacity on the internet.
Next, add water to the tank’s maximum capacity and let it sit for 24 hours. It gives the tank enough time to eliminate any bacteria. Suppose you can’t wait for 24 hours to use the tank. Double the chlorine dose and let it sit for eight hours.
After the said hours, drain the chlorine water away from your garden and fill the tank with water. Let the water sit for thirty minutes before draining it. This will eliminate the excess chlorine from your tank. Once you’ve drained the water, you can now continue storing your water in the tank.
Conclusion
The discussion has shown that cleaning your slimline water tank is no challenging task. With the right guidance, like this article gives, you’ll have an easy time. Be sure to implement this guide every time you clean your water tank. Doing so will ensure your tank is clean and free from any bacteria that could negatively affect your health.


